Showing posts with label lego. Show all posts

Saturday, September 20, 2014

Building a Cubby Organizer

My boys LOVE legos.  We have pieces in every nook and cranny of our house.  I'm sure some have found its way into our vacuum.  When I saw this cubby organizer at my neighbor's house, I knew I wanted it.  At the time, they didn't sell the cubby organizer any longer so I was a bit disappointed.  However, a couple of months ago, I was mentioning to my other neighbor about the organizer and she said she saw online.  It was a modified version of the one they sold a few years back, but the concept was the same.  I waited patiently for a friends and family sale and voila, it finally came.  Did I buy it?  Nope.  I was so disappointed they didn't sell it in the store and when I tried to purchase it online, adding in the shipping and surcharges didn't make it worth it to me.  I decided to build it myself.  Do I love it?  That's a BIG whopping YES!


I measured E.'s wall where the cabinet would hang and decided to make it to the dimensions of the one that was being sold.

I drew out how I was going to build it and it just so happened my dad came to visit that week and saw my drawing.  He decided to help me out.  We bought 1x6x8's and ripped the edges so they would be around 5 inches deep.


Then, he made notches in the wood so that the shelves would slide into place.


We contemplated if we wanted the shelves to be removable, but in the end, I decided to nail them in permanently.


One row done, 4 more to go!


I then puttied all the nail holes and then sanded everything down.


It sat in my garage for the longest time because I knew the next part would not be fun.


I had to stain, polyurethane, sand, then polyurethane and sand again all 25 cubby holes.  This was so tedious and I seriously contemplated whether or not it needed a second coat of polyurethane.  Of course, the perfectionism in me would never allow me to skip that step, but I was pretty drained with all the work that went into this project and that thought did cross my mind.


The total project was $17.  That's a great savings, but I did spend about 10 hours from start to finish.  In hind sight, I would have to say this would be a project that is WORTH purchasing over making.  If you have the time, its a great project to do.  If you don't, it's SO worth cost of the item plus shipping and surcharge.  I only say that because what I made is basically what was sold.  Had it been a custom piece that needed certain specific dimensions, that would be a different story. I did build a cabinet for E. on the other side of the bed that was custom and SO worth the time and effort, but that project will be saved for another post. 


For now, my kiddos have a place to put all their Lego creations.  Currently, it's home to all their Mixel creations.  I think it is super cute and I LOVE LOVE LOVE how it turned out.  I'm happy that all the hours I put into building it created a piece that I am proud of.


The bed and all cabinets are built!  3/4 of the room is done.  Only 1/4 to go!  E.'s room is turning out to be simply a hand-built room and I love it!

Tuesday, May 17, 2011

Lego Pops

In my research for E.'s Lego birthday party, I got the idea of making Lego Pops. I thought they were super cute and I had to duplicate them.


Start with jumbo marshmallows.


Slice the marshmallow for the tip of the mini-figure head.


Re-size the slice with a tip.


Remove the tip.


Apply to top of larger marshmallow and place on stick.


Prepare some candy melts.


Coat the marshmallow. Swirl to get even coat.


Allow to harden.


Use decorating gel to add faces.


I just copied whatever mini-figures I had laying on my kitchen counter.


Fun to look at, tasty to eat!

Friday, May 6, 2011

Lego Mini figure Crayons

E. told me he wanted a lego swimming birthday party this year (whatever that is). Since, I have been in a creative funk the last couple of weeks, I was hoping he would change his mind, but no such luck. He's more excited than ever for his party, especially when I showed him these.


These lego mini figure crayons were what got me out of my funk and got me into the spirit of birthday party planning. How do I top E.'s Super Mario Birthday Party last year that was dubbed by several kids as the best party ever? I don't know if that is possible, but this is a start. The greatest thing about these little creations is the fact that it is one of the easiest things to make.

Take some crayons (brand name crayons turn out much nicer)


unwrap the paper.


chop into pieces


Fill into Mini figure mold. I bought this at the Lego store last year.


Microwave on high for 5-7 minutes until the crayons are melted.


Cool the crayons on the counter or in the freezer and then remove from mold when hardened.


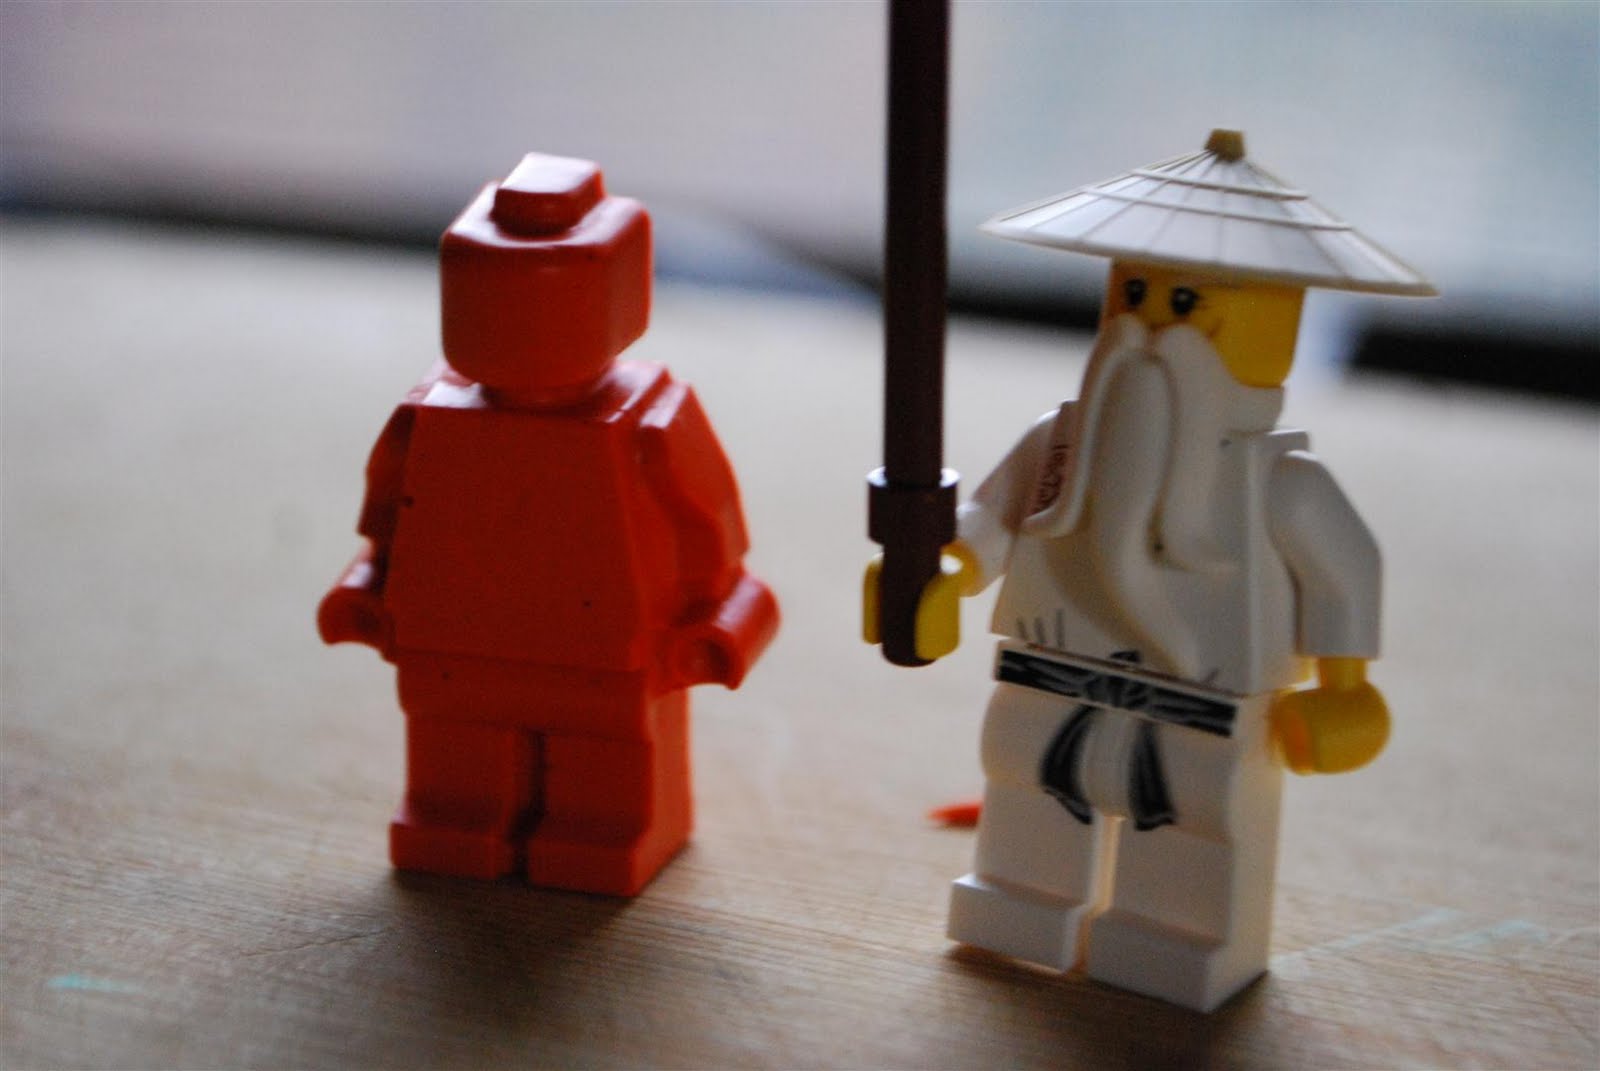
You end up with a true sized mini figure that you can color with.


Make your favorite colors.


Or go overboard and make every color you have.


Keep working until you have made a set for every guest.


...and so this is the start of my Lego Birthday Party planning. Stay tuned to find out how I made my very own Lego Silicone mold (yes, I am that crazy..a standard one off of ebay just wasn't going to cut it for me, especially when I can make my very own). I am excited, how about you?
Related Posts with Thumbnails