Showing posts with label headboard. Show all posts

Saturday, June 28, 2014

Nailhead Trimmed and Tufted Headboard

I'm working on E.'s new room and the first thing that popped into my head was a gray upholstered headboard.  I wanted a linen type fabric and I wanted it tufted.  On top of that, I wanted a nail head trim.  A lot of I wants, right?  I started with this headboard and I ended up with what you see.  I love how it turned out.


This is how I made it.  I stripped the fabric off the old headboard so that I could reuse the wood.  I recalculated the tufting spaces and drilled holes where I wanted the buttons to be.  I wanted rows of alternating 6 and 7 buttons with a total of 4 rows.  It was time to do some math because I wanted the spacing perfect.


Once that was done, I cut a piece of 2x2 to trim the headboard which is 62w x 60h.  


The distance of the legs from floor to the bottom of the headboard should be the height of the top of your bed or smaller so there will be no gap.


I stripped a piece of scrap wood to place behind each leg so that it will be completely flush with the back of the head board.


Next, I added 2 inch foam in the center of the headboard and then added a couple of layers of batting on top of that.


Next came the tufting tools that I used.


I bought 2 packages of these button covers.


I also bought waxed button thread.  At $4.99, I'm not sure this would be worth it.  The wax did keep the thread from moving back through, but it was a bit pricey.  Fortunately, I only had to pay $2.70 with my coupon :)


What I do find completely worth it was this double pointed needle.  I had lost my tufting needle so I needed a replacement and I decided to try this one.  I used my 50% off coupon to bring the price down to $4.99.  However, with all the time it saved me, I would have gladly paid 3 times the price and that is saying a lot.


Covering the buttons was a cinch.  Cut the fabric to the size of the template.  Place it in the white well and then place the front of the button on top. 


Use the blue plastic push to insert the front of the button down into the fabric.  Tuck all the lose ends of the fabric into the well.


Next add the back of the button and push into place again.


Pop the button out of the well.


Repeat until you have all your buttons.


I normally would have the headboard standing up and have a helper, but I didn't have anyone so I had to be a little creative.  I propped the head board on the edge of the bed and lifted the other ends with some ottomans.  I would crawl under to thread the needle through the holes.


Insert the double sided needle through the hole with the thread.  Un-thread the needle and insert thread through the button.  Re-thread the needle and pull through.  Here is where the double sided needle comes in handy.  If you do not have one of those, you will have to pull the needed out completely and then poke it back through.  You think that is easy, but it takes a lot of time and patience to find the tiny hole you created in the head board.  Therefore, this double-sided needle saved me hours of trying to find the tufting holes.


I could not do anymore by myself so I had to beg for some help (well I bribed one with a hershey kiss).  I got my sons to push the button down as far as possible while I laid underneath the head board and pulled the thread tight.  This was the only way to get it super tight.


Underneath the bed, I stapled the thread in place.  I normally use a washer or a button, but I didn't have any and didn't want to go out and get some.  I will have to say using a washer is SO much easier than stapling especially when you are working on your own.


26 buttons later and I'm finally done!


Now it is time to staple the edges down.  I started in the center and worked my way to the edge until I was done.


For the legs?  I cut a separate piece of fabric for the bottom.  I folded the top and bottom edges and then stapled from behind.


The front looks like this.


The verdict?  I love it!


I had to wait a week to get my nail head trim I ordered.  I didn't like the nail head trim in the store because the heads did not match the trim so when you hammered the nail heads into the trim, it looked too different for my liking.  I found some nail heads online that I loved, but everyone was selling it for too much.  Add shipping costs and it was causing me to rethink my plans.  I emailed the company that made the nail head trim I wanted directly and they said they would sell it to me!!!  I was so ecstatic.  I had to still pay an arm and a leg for the shipping, but I got three times the amount of product for less than any other online retailer. Score for me!


I was so giddy when it arrived. It was super easy.  I laid the trim where I wanted it.


Then I used the nail heads and hammered into place.  I didn't want to pay for a nylon tip hammer so I just placed a sock over my regular hammer to protect the nail heads.  It worked perfectly!


Finally, I got my new headboard for E who absolutely loves it!


Can I say I love it too?  I'm a bit jealous myself.  I may have to make me one :)


It's my first experience with nail heads and I couldn't be happier with the experience and the result.


Perfect bed for the perfect kid.

Here's the breakdown of my costs

Fabric $2.25 (can't beat $1.50 a yard now can you?)
Button Cover Kits $9.99
Double Sided Needle $4.99
Waxed Thread $2.70
Nail head Trim $43 (my splurge - $25 for the nail heads, $18 for shipping)

Total cost for this project was $62.93.  That's a little pricey I know, but the bulk costs came from the nail heads which were technically bought for another project as well so to me it was worth it.  If I split the costs of the nail head trim between the two projects, this one totals $41.43.  I'm okay with that because I love love the bed head board.  Speaking of which, I have a new head board so now I need a new bed, right?  That's for another post!

Monday, February 28, 2011

First comes the Headboard


I spent Saturday Morning building this.

I learned so many things building A.'s bed that building R.'s bed was pretty much easy peesy...especially this particular headboard.

Then, I spent the rest of the weekend, trying out different mattresses and really thinking about whether or not I want to buy a boxspring with a bed frame or build a platform myself.

After A LOT of thought (yes, I stayed up lying in bed just thinking about measurements, the construction process and the over all time and price of my options...does that make me a true nerd?), I think I have decided to build a platform for the bed. At first, I wanted to make a footboard, but after looking at the very shallow room, I didn't want to give up the 4 inches that the footboard would consume. I also wanted the kids to be able to sit at the edge of the bed like they do in my room.

I then decided that I would build a platform so that I could make the bed much lower than the boxspring and frame combined. E.'s bed was bought at bombay kids and is the perfect height for kids so I plan on building this bed with a lowered height.

Hopefully, what I envisioned for the construction of the bed makes it look both great as well as sturdy. It will have to wait a bit as I am preparing for a HUGE purge of things with an upcoming garage sale. I can't wait to clear out my garage so that I can build things AND park my car in the garage at the same time. Wish me luck.

Tuesday, July 13, 2010

Making a Headboard


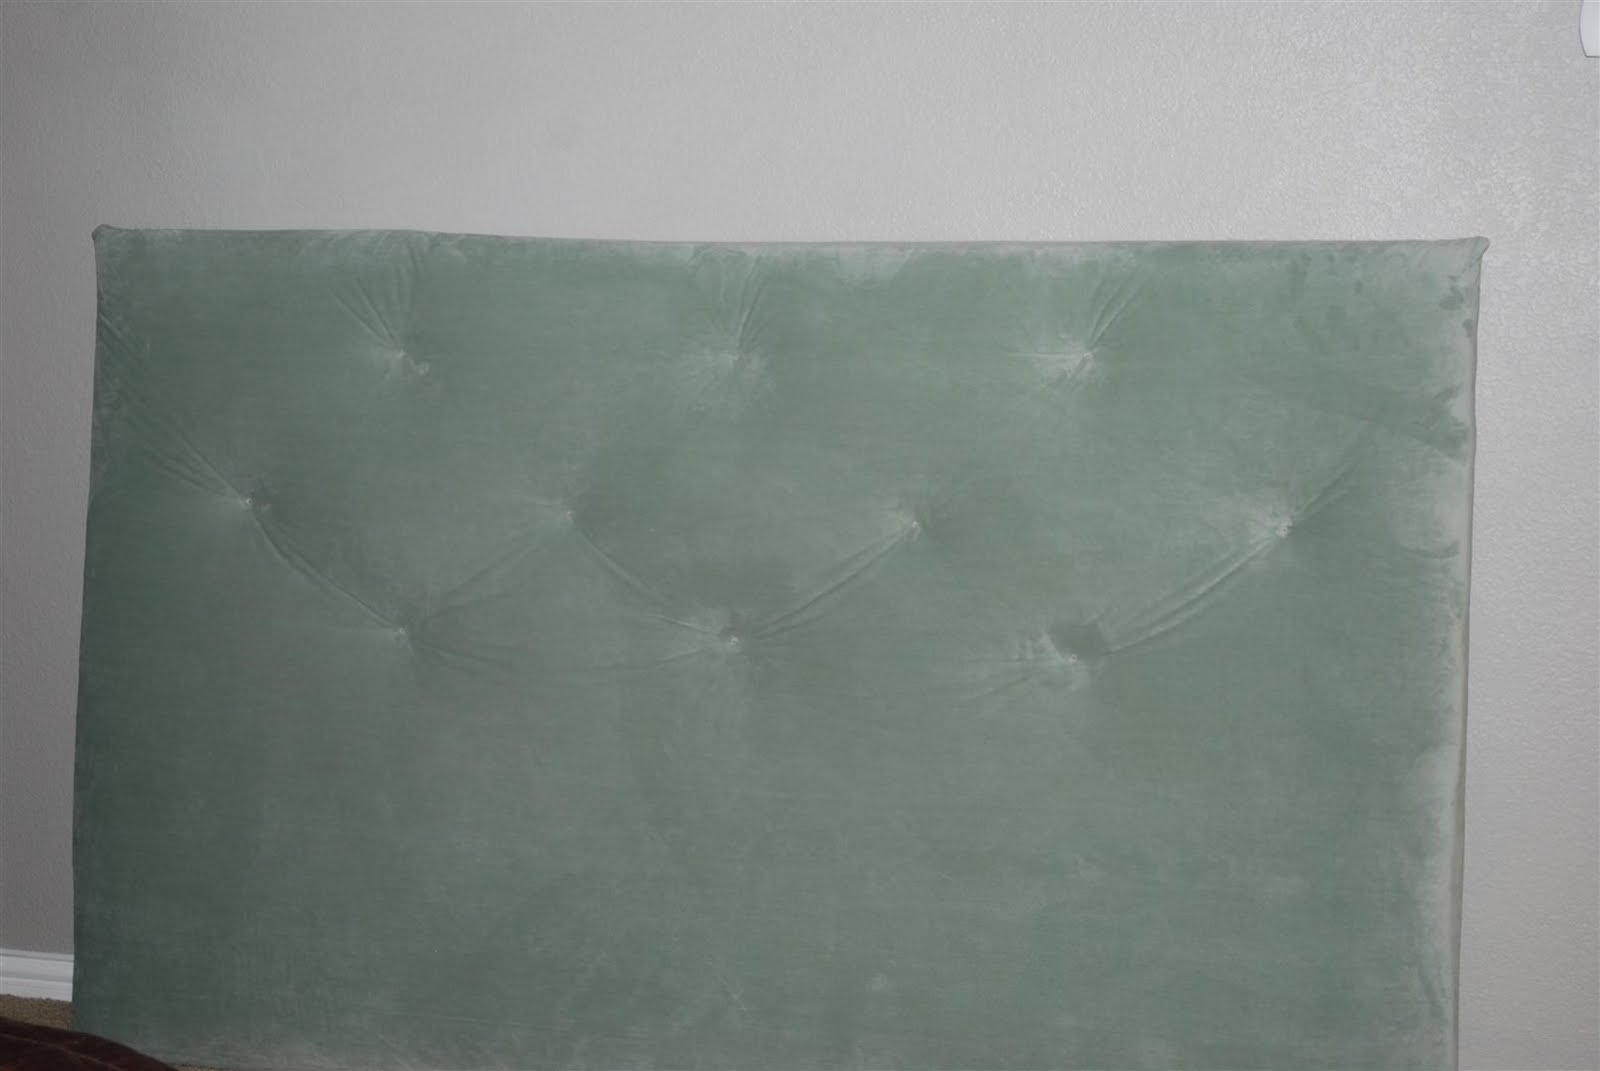
I finally have the time to redo my headboard I created years ago. It's been reupholstered a few times throughout the years and it is now time for another change. Here is what it looks like before the redo.


To make this upholstered headboard, I used a sheet of OSB found at any local hardware store. It is the cheapest wood you can get. It's not that pretty to look at, but it doesn't matter because it will be covered up with fabric.


If you want to tuft your headboard like I did, you will need to drill holes into the headboard at all the points you want it tufted. I measured out the location of the holes, drew circles where I wanted it and drilled away. The circles you draw also help you find it later on when you actually do the tufting.


After drilling all your holes, it is now time to soften up your headboard. Thick cushions can cost a hefty penny so what I did was take some patio furniture cushions to soften up my headboard. I found some seat cushions for 90% off so instead of spending about $75, I ended up spending only about $12. I stripped the fabric off the cushions and laid them on the headboard. I sewed the cushions together by hand.


It's hard to see my stitches in this picture. The headboard can be made without the thick cushion. It just depends on how soft and thick you want your headboard to look.


My original headboard didn't have the thick cushion. It only had a couple of layers of batting underneath the fabric and it still looked good as seen below.


After the cushion has been sewn together, I added a layer of batting to smooth everything out. You can find this at any local fabric store.


You can see my original gray fabric underneath. I stripped the teal fabric off, but was a little too lazy to take the gray one off. It is now time to take out the staple gun and hammer.


Lay your fabric on the floor with the OSB board on top (cushion should be between the board and the fabric). Starting from the center of the headboard, staple your fabric to the board.


Hammer any staple that isn't flush with the headboard.


Work your way out to the edge of the headboard. When you are done, start stapling on the opposite side of the headboard, pulling the fabric tightly and removing any wrinkles.


Cut off the excess fabric and take a look at your new upholstered headboard.


Now comes time for the tufting. A normal sewing needle would be too short for this job. You can buy upholstery needles at any craft store. The extra long length will make the job a lot easier.


Locate a drilled hole on the back of your headboard and insert a long needle through the hole, through the fabric. Make sure you tie it to something like a button or a washer. Since my headboard had thread from the last time I tufted, I just knotted my thread to that.


Pull the needle out and insert something to hold the thread from coming through. The majority of tufts are done with fabric colored buttons. I don't want it to be a big deal so I used a single bead. After the first tuft, I found my fishing line and instead of thread, I used the fishing line. I like the fact that it is strong and clear.


Once you have the bead at the end, insert the needle back through the fabric out through the drilled hole in the back.


Pull it tight by pushing the bead close to the board so that it creates a good indentation.


On the other side of the headboard, make sure you tie the end so that it remains tight. Back in the day, I just continued on with the tufting by pulling the thread to the next hole, but to keep the thread from coming out, you can tie the end of the thread to a washer or even a button that you used previously.


Like I mentioned before, since I have thread already there from my previous tufting, I just tied my thread to that. The final outcome is this.


I was going to build a frame around the headboard and stain it an espresso color, but I didn't get a chance to do that this weekend. For the time being, I am super happy with the look of this new fabric that I will leave it as is for now.

So now it is time to hang the headboard. The easiest method to hanging this headboard is to screw a piece of wood to the back of the headboard. You can use a 1x2 that is slightly shorter than the length of your headboard. Make sure it is level.


Next, locate the studs on your wall and screw another 1x2 on to the wall. The piece of wood that you applied to the back of your headboard will sit on this piece of wood so measure your height accordingly.


I also added another 1x2 a little lower on the wall so that the board would be level and not bang around when you lean on it. Yes, the bottom board was covered with fabric. I thought that you would be able to see the sides of the board so I covered it, but this is not the case.

Hang your headboard simply by placing it on top of the top piece of wood. You can then slide it to the right or left to center it where you want. Easy peesy. My headboard is large enough that the mattress leans against it and keeps it from going anywhere.


It's hard to really calculate the price of headboard because I have added to it throughout the years.

My first headboard without the cushion:
OSB $7.98
Fabric $2.00
1x2 FREE
Total Cost $9.98

When I reupholstered it for the second time, I added the thicker cushion

Cushion $12.00
Fabric $30.00
Total Cost $42.00

Yes, the fabric was a little pricey here, but since I removed it carefully, I will be able to reuse it for something else.

To get my new look this time, I only had to pay for the fabric and that was $12.00. I decided upon a cream linen fabric. I will add a frame later on which ended up costing about $24.00 in wood.

Depending upon how you want your headboard to look, the cost varies. I've gotten three different headboards in 10 years so I am not complaining. I can't wait to build the frame and see how it turns out.

Related Posts with Thumbnails